
|
|
Getting Started with Your Axon Board
Hey there! Ready to dive into the awesome world of Axon? Vicharak has got you covered with all the gear and info you need. Let's make setting up your Axon board fun and easy!
What's in the Box?
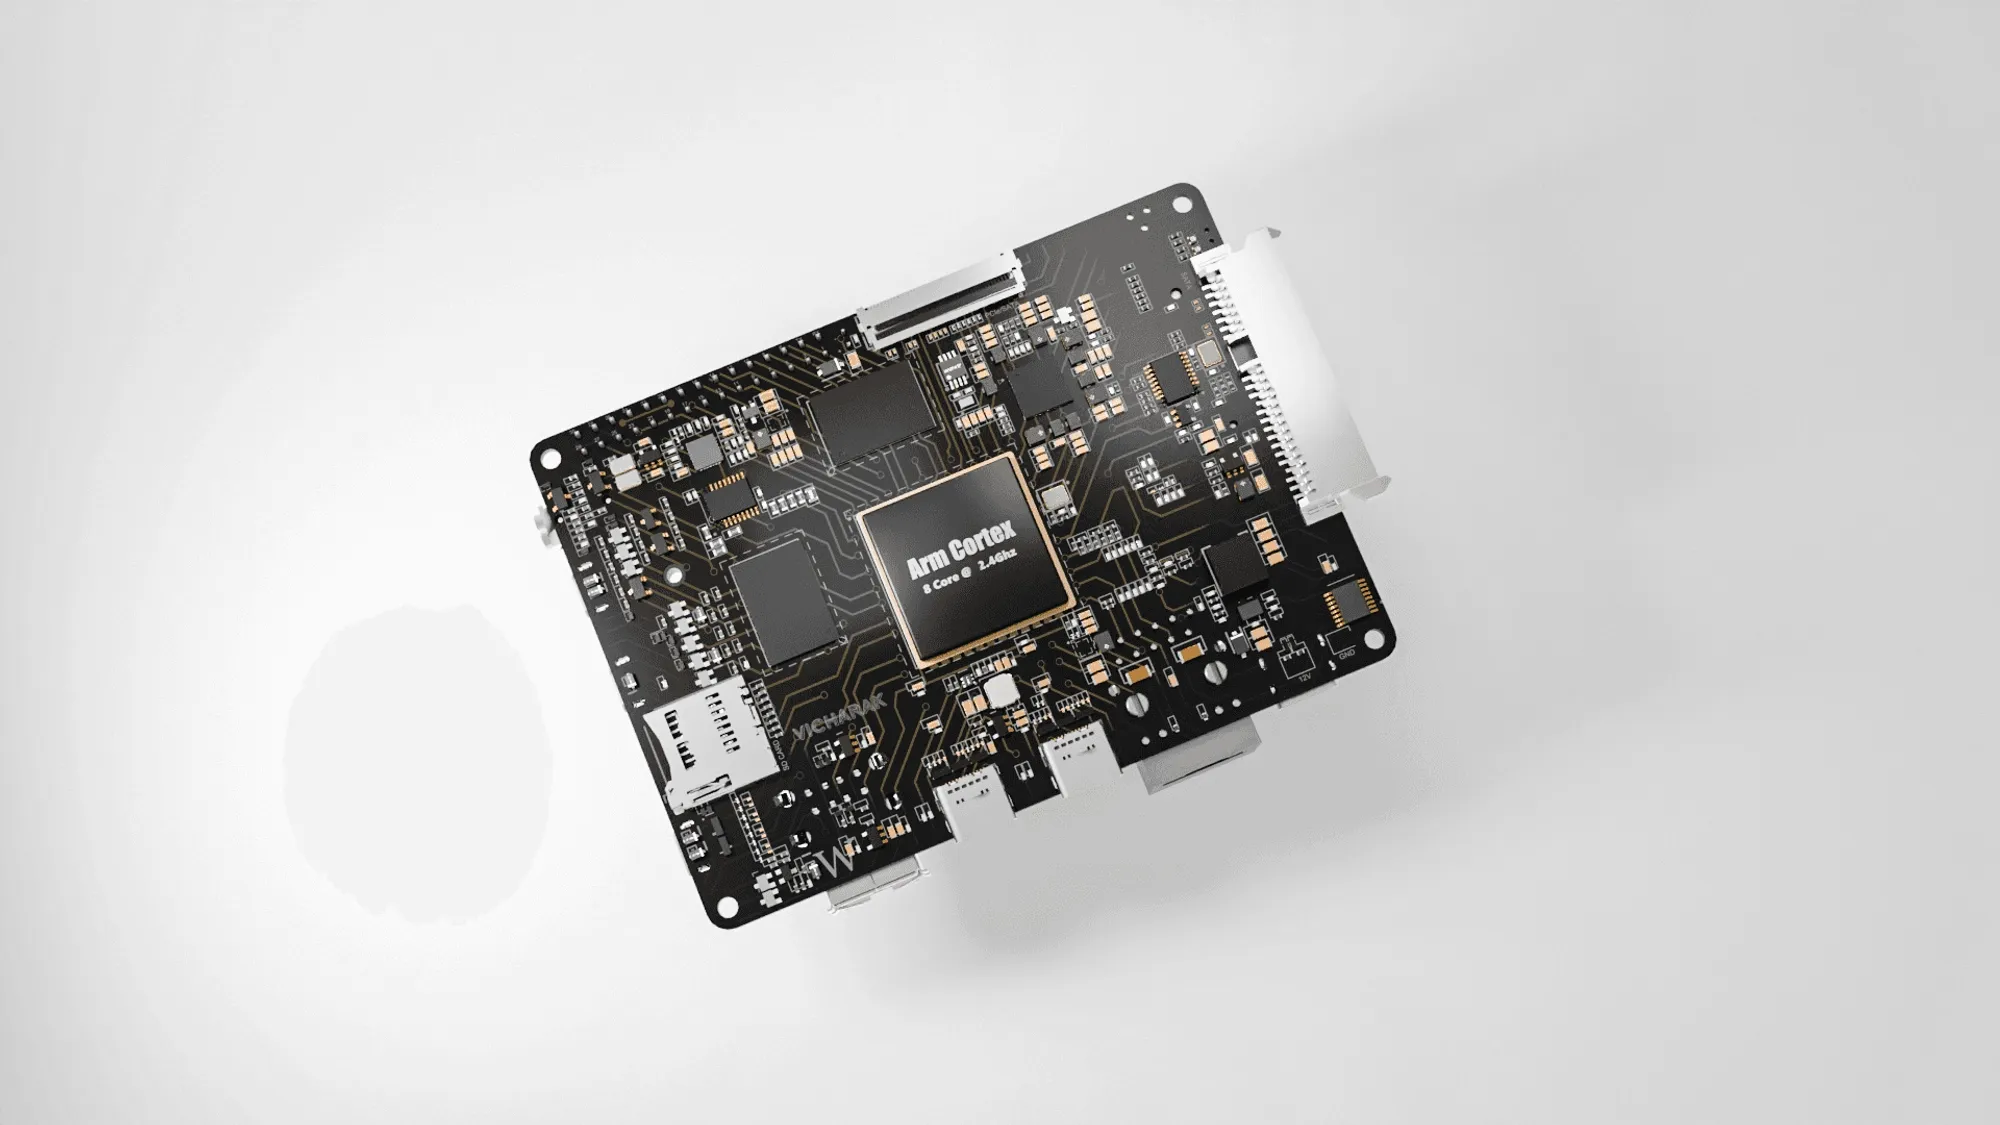
- Axon - Your new tech buddy.
- PD Cable - For powering up.
- Pre-installed eMMC - Comes with Ubuntu (Jammy) OS.
What Else Do You Need?
- Micro HDMI to HDMI Cable or Adapter - To connect to a screen.
- USB Keyboard and Mouse - Essential for typing and navigation.
- Monitor with HDMI Input - To display your Axon's output.
- USB-C to USB-A Male Cable (optional) - For extra connectivity.
- SD Card (optional) - For additional storage options.
- Internet Connection (optional) - To get online.
- USB to UART Serial Cable (optional) - For advanced setup.
Note: These extras aren't in the box, but you can grab them from the Axon Accessories page.
Getting Started with eMMC
Powering Up the Board
Axon comes with Ubuntu (Jammy) pre-installed on its eMMC storage. It can also boot from an SD card if you have one, but let's stick to the eMMC for now.
- Plug in the PD Cable: Connect the PD cable to the Axon board and plug the adapter into the wall. The board will automatically turn on.
Warning: Only use 12V power! Using 5V can mess things up and might damage your board. Stick with the 12V/5A Power Adapter provided.
- Check the Power LED: The red LED should light up, showing that your board is powered.
- Check the Status LED: The white LED will blink, meaning the boot process is complete.
Heads Up: Wait for the system to finish rebooting before moving on. This ensures everything is set up correctly.
Boot Modes
Booting from SD Card
If you want to boot from an SD card, there's a separate guide for that. But for now, let's focus on the eMMC.
How to Access Your Axon Board
There are several cool ways to access your Axon:
1. Using the Micro HDMI Port
Axon is equipped with two micro HDMI ports for easy connection to a display. This enables you to see everything directly on a big screen.
- Connect the Cable: Use a micro HDMI to HDMI cable or adapter to connect your Axon to a monitor or TV with an HDMI input.
Note: Once connected, follow the Linux Start Guide to complete the initial setup.
2. Using the Serial Console
Axon has UART pins for a serial interface. You can use a USB to UART serial cable to connect your computer and access the console.
Setup:
Have a serial terminal app (like PuTTY) and a USB to UART serial cable.
Connection:
Plug the cable into your computer and the Axon board.
| Serial FTDI Pin | Header GPIO Pin | Schematic Name |
|---|---|---|
| GND | Pin 6 | GND |
| TX | Pin 4 (GPIO0_B5) | UART2_TX_M0_DEBUG |
| RX | Pin 2 (GPIO0_B6) | UART2_RX_M0_DEBUG |
Tip: Configure the serial parameters: Baud rate: 1500000, Data bit: 8, Stop bit: 1, Parity: none, Flow control: none.
Running the Serial Console Program
PuTTY (GUI):
- Download and install PuTTY.
- Open PuTTY and configure the serial parameters.
- Click "Open" to access the serial console.
3. Using SSH
SSH (Secure Shell) lets you remotely access the system. Here’s how to set it up:
Install OpenSSH Server:
- Go to Settings > Apps > Optional Features.
- Install OpenSSH Client and Server.
- Verify installation in the Services app and set OpenSSH SSH Server to start automatically.
Connect via SSH:
Using IP Address:
ssh username@ip_address
Using PC Name:
Tip: Replace “username” with your board's username and “ip_address” or “pc-name” with the actual details.
4. Set up Automatic Wi-Fi Connection on Boot
For headless setups (no monitor or keyboard needed), set up an automatic Wi-Fi connection:
-
Edit the
/usr/lib/vicharak-config/conf.d/before.txtfile:
connect-wi-fi <network name> <password>Example:
connect-wi-fi techpub_5g tcpb_0123- Reboot the system.
Axon Boot Modes
Normal Mode: Default mode. Boots from eMMC or SD-card.
Loader Mode: For upgrading the bootloader.
Maskrom Mode: For repairing the board if the bootloader is damaged.
For detailed info on Maskrom Mode, check the documentation.
That's it! You're all set to explore the amazing features of your Axon board. If you need help or have questions, feel free to reach out. Happy tinkering!